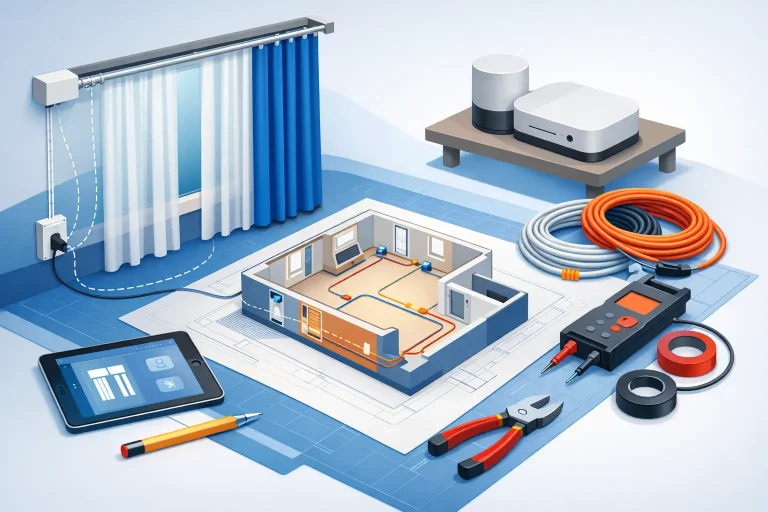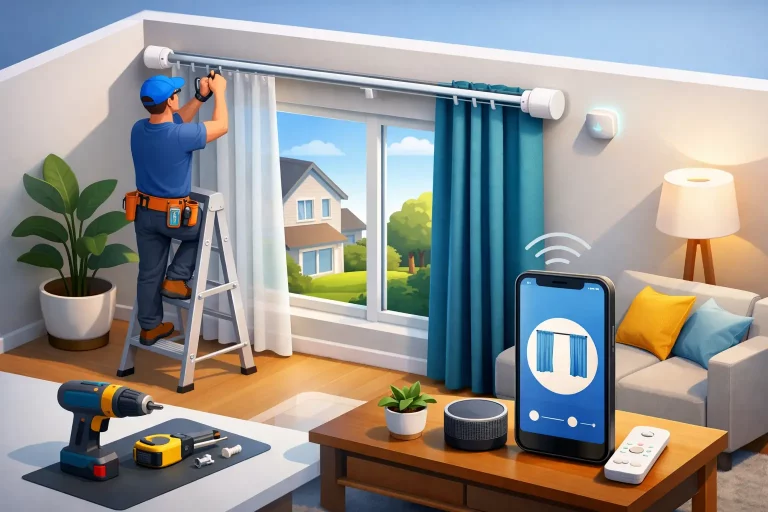
A motorised curtain track can make a room feel considered long before you use the app or remote. Curtains open at the touch of a button, close at dusk and can be timed while you are away. But the finished result depends on decisions made before the track is fitted. This smart curtain installation guide explains what to plan, what your installer needs to know and where a little preparation avoids an expensive adjustment later.
Thank you for reading this post, don't forget to subscribe!Start with the window treatment, not the motor
The motor is only one part of the system. First decide how the curtains should look when open and closed. Do you want them to sit within a recess, stack neatly beyond the window, cover a wall-to-wall run or follow the angles of a bay? Each option affects the track length, curtain heading, bracket positions and the space required for the fabric to stack.
For most homes, curtains should overlap the window opening sufficiently to reduce side light. A track fitted above and beyond the window can also make the window appear larger and give heavier curtains room to clear the glass. In a bedroom, this extra coverage is particularly useful when paired with blackout-lined curtains.
If you are working with an interior designer or curtain maker, agree the heading and fabric weight early. Wave headings, pencil pleat curtains and pinch pleat curtains can all work with motorised systems, but they require the correct runners, hooks and track specification. The fabric must also be within the motor’s stated carrying capacity. A beautiful, heavily interlined pair of curtains needs a different assessment from lightweight sheers.
Measure for a made-to-measure track
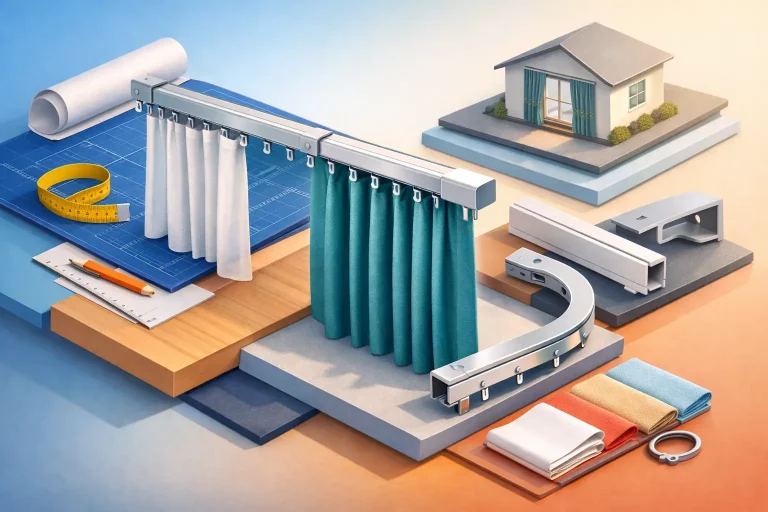
Accurate measuring is the foundation of any smart curtain installation. Do not assume a window is square, especially in period properties, bays or newly plastered recesses. Measure twice and record each dimension clearly.
For a straight track, measure the finished track position rather than just the glass or frame. This includes the planned extension beyond the window on each side and the distance above it. For recess fitting, take the width at the top, middle and bottom, then work from the smallest measurement where clearance is limited.
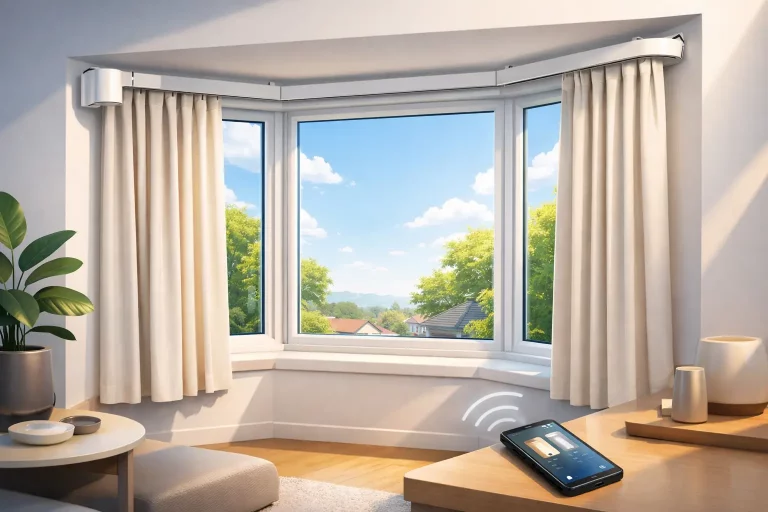
Bay windows, corners and offset layouts need more than a width and drop. Note every wall section, the angle of each return and where the curtains should park when open. A sketch with dimensions, photographs and ceiling heights is often more useful than a single number. It allows the track layout to be checked before it is manufactured.
Check stack-back space
Stack-back is the amount of room curtains occupy when fully open. It is easy to overlook, but it can determine whether curtains block part of the window, collide with furniture or stop short of an adjacent wall. Thicker fabric and fuller headings take up more room.
Consider what sits close to the window: wardrobes, radiators, shelving, handles and shutters can all affect the parking position. If your priority is maximum daylight, specify this at the planning stage so the track and curtain fullness can be considered together.
Plan the fitting height and recess
A ceiling-mounted track offers a clean, contemporary look and is popular where curtains are intended to fall from ceiling to floor. Wall mounting can be the right answer where a ceiling is unsuitable or where a pelmet, coving or existing feature dictates the position.
Allow enough clearance for the curtain heading to move freely. In a recess, check that the fabric will not rub against blinds, window handles or deep sills. Where a track is concealed in a ceiling pocket, the recess needs to be wide and deep enough for the track, runners and moving fabric – not simply the track itself.
Decide how the motor will be powered
Power planning is usually the point at which a simple project becomes a properly integrated one. Motorised curtain tracks may use mains power, a plug-in supply or a rechargeable battery, depending on the system and location.
A hard-wired installation gives the most discreet finish. The cable can be hidden before decorating is completed, which is particularly worthwhile during a renovation or new build. It should be planned with a qualified electrician, who can provide an appropriate supply and safe isolation in line with current UK electrical requirements.
A plug-in option can suit a finished room where access to a nearby socket is straightforward. The practical question is whether the cable route can be concealed without compromising the look of the room. Battery-powered options can reduce electrical work, but they need periodic charging and may be less suitable for very large, heavy or frequently operated curtains.
Do not leave power decisions until the track arrives. Confirm which side the motor will sit on, where the cable exits and whether there are obstacles such as cornices, cupboards or a return wall. On a double track, consider whether both tracks need separate motors and supplies.
Choose controls around how you live
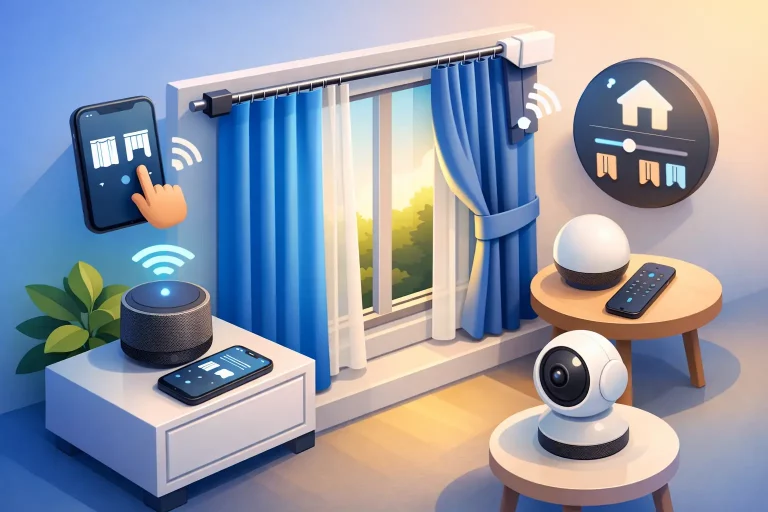
The most useful control method is the one your household will actually use. A handheld remote is simple and reliable. A wall switch gives familiar, immediate control at the room entrance or bedside. Smartphone control and timers are ideal for routines, while smart home integration can link curtains to lighting, voice control or wider home automation scenes.
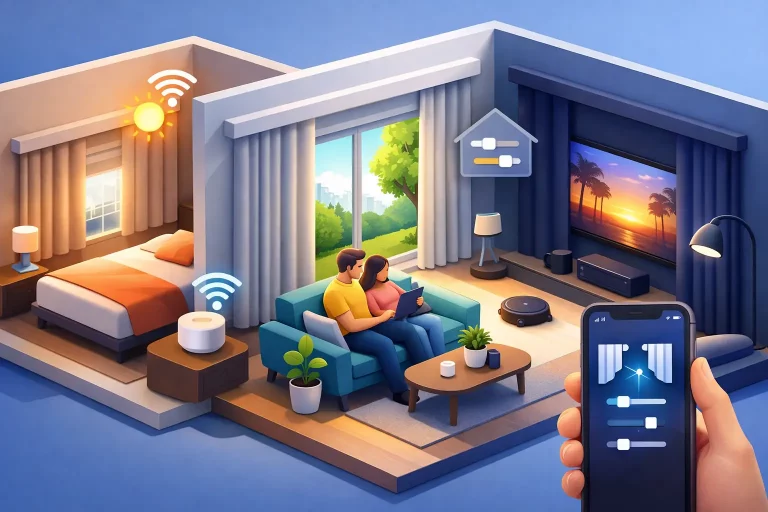
For example, a morning routine might open bedroom curtains gradually, while an evening scene closes living room curtains as lights come on. Timed operation also gives a lived-in appearance when you are away from home, which can add reassurance during holidays.
There are trade-offs. App and automation control depend on compatible equipment, a stable home network and sensible setup. If you are integrating with an existing smart home system, involve the integrator before ordering rather than expecting every product to connect in the same way. For accessibility, it is worth considering more than one control option, such as a wall switch plus remote, so operation remains easy for everyone in the household.
Prepare the fixing surface properly
A motorised track carries both its own weight and the moving load of the curtains. The mounting surface must be capable of supporting it securely. Plasterboard ceilings and walls may require suitable fixings or additional timber support, while concrete, steel and timber construction each call for different methods.
This matters most with long tracks, floor-to-ceiling curtains and heavier fabrics. Brackets should be positioned according to the approved fitting drawing and spaced correctly, with extra attention around joins, bends and the motor end. A track that is slightly out of level may still operate, but it can look poor and may cause the curtain to drift or run unevenly.
Before drilling, check for electrical cables, pipes and structural features. If the property is being renovated, ask the builder to provide noggins or backing where the track will be fixed. This small step produces a much cleaner, more secure installation than trying to solve a weak fixing after walls and ceilings have been finished.
Fit, test and dress the curtains in the right order
Once the track is fixed, the motor and belt connection can be installed, followed by end stops, runners and curtain hooks. The exact sequence varies by system, so use the supplied fitting instructions and do not force components into place. Curved and bay tracks deserve particular care: joins must align cleanly so runners travel through them without catching.
Before hanging the final curtains, test the track through a full open and close cycle. Listen for rubbing, clicking or hesitation. Check that the master carrier reaches both end positions and that the curtains will overlap correctly at the centre. If the system has electronic limits, set them carefully so the motor stops without pulling fabric too tightly against a wall or end stop.
After the curtains are hung, check the appearance as well as the operation. Make sure hooks are evenly spaced, hems clear the floor as intended and the fabric does not snag on radiators, handles or furniture. Then pair remotes, programme wall controls and set any app routines. Keep control instructions somewhere accessible, especially if the property will be used by guests, family members or future occupants.
When professional planning makes the difference
A straightforward straight track in a finished room may be suitable for a competent installer. Bay windows, concealed recesses, wall-to-wall arrangements, double tracks and smart home integration benefit from early specialist input. The cost of correcting a wrongly positioned recess, an inaccessible socket or a track made to the wrong shape is far greater than checking the layout first.
Smart Curtains can help verify dimensions, produce fitting drawings and coordinate the practical details with your electrician, builder or automation specialist before a made-to-measure system is supplied. That planning gives everyone a clear reference point and helps preserve the refined finish you are aiming for.
The best installation is rarely the one with the most technology. It is the one that suits the room, clears the window beautifully and works without effort every day. Plan the fabric, track, power and controls as one project, and your curtains will feel like part of the home rather than an add-on.