A motorised curtain track can look beautifully simple once it is installed, but the result depends on decisions made well before the curtains are made. Knowing how to specify curtain tracks means looking beyond the width of the window: you need to consider where the curtains will stack, how they will move, what they need to clear, and how power and controls will be planned.
Thank you for reading this post, don't forget to subscribe!For a straightforward window, this is manageable. For a bay, a full-height glazed wall, a pocket ceiling or a room with smart home control, careful specification is what separates a polished finish from an awkward compromise.
Start with the finished look, not just the window size
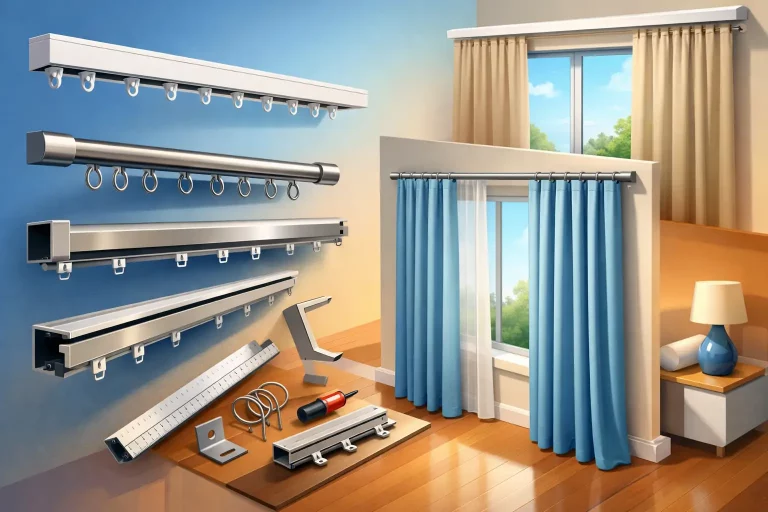
The first question is where you want the curtains to sit when they are open and closed. Tracks can be fitted above a window, from wall to wall, within a ceiling recess or concealed in a purpose-made pelmet or pocket. Each approach changes the measurement, the fixing method and the amount of fabric that remains visible when the curtains are drawn back.
A wall-to-wall track is often chosen to make a room feel wider and more considered. It also gives better light control at the sides than a track that ends close to the window frame. For bedrooms, media rooms and rooms where privacy matters, allowing the curtains to extend beyond the glazing can make a noticeable difference.
Ceiling-mounted tracks create a clean, full-height effect and are particularly effective with tall windows and patio doors. If you are planning a false ceiling or curtain pocket, decide the track position early. The recess must be wide enough for the chosen heading and fabric, while leaving sufficient clearance for the curtains to move freely.
Measure the track position accurately
A curtain track is specified to its finished route, rather than simply the width of the glass. Measure from the point where the track will start to the point where it will finish. For a straight wall-mounted track, this normally means the overall width between the intended end points, not the width of the window reveal.
For ceiling-mounted systems, measure the available ceiling line and confirm that the surface is suitable for fixings. Plasterboard alone may not provide enough support, especially for wide curtains or heavier lined fabrics. A timber batten, noggin or another reinforced fixing point may be needed before the ceiling is closed.
Height matters as much as width. Establish the vertical position of the track, then measure down to the finished floor level. If flooring is not yet fitted, allow for the final build-up of carpet, underlay, timber or tiles. Curtains that are made to an early floor level can end up dragging once the room is finished.
It is also worth checking for obstacles along the route. Coving, air vents, downlights, radiators, opening window handles and projecting sills can all affect the track position or curtain clearance. A fitting drawing is especially useful here because it turns a verbal plan into dimensions your builder and electrician can work from.
Allow for curtain stacking
When curtains open, the fabric gathers into a stack at one or both ends of the track. This stack can cover part of the window, so it should be considered before ordering. The amount of space required depends on the curtain fabric, fullness, heading style and drop.
A lighter wave curtain may stack more neatly than a heavy interlined curtain, but it still needs room. If keeping as much glass clear as possible is a priority, extend the track beyond the window where the wall allows it. Where there is limited space on one side, an offset layout or a one-way draw can sometimes offer the better solution.
Choose the right opening arrangement
Most curtain tracks are specified either as centre-opening or one-way opening. Centre-opening curtains meet in the middle and stack equally at both ends. This suits symmetrical windows, French doors and large glazed areas where a balanced appearance is wanted.
One-way opening curtains travel to one side only. They are useful when furniture, a doorway or limited wall space prevents a stack at both ends. They can also be a practical choice for a corner window or where access is needed more often through one side of a patio door.
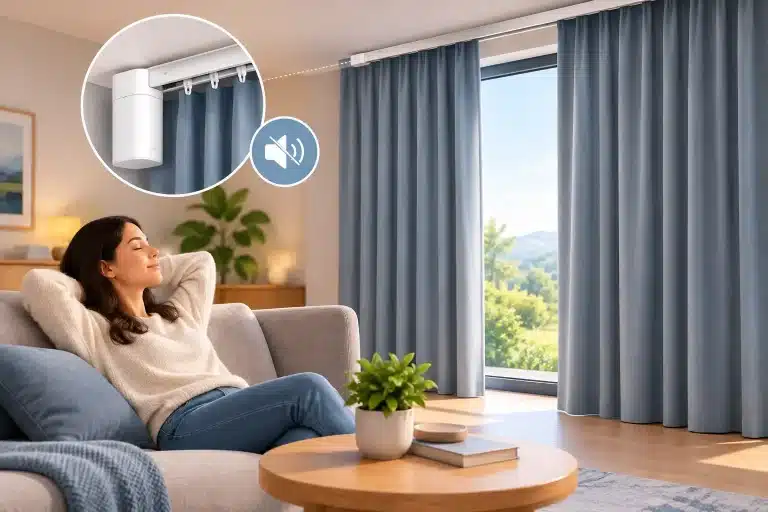
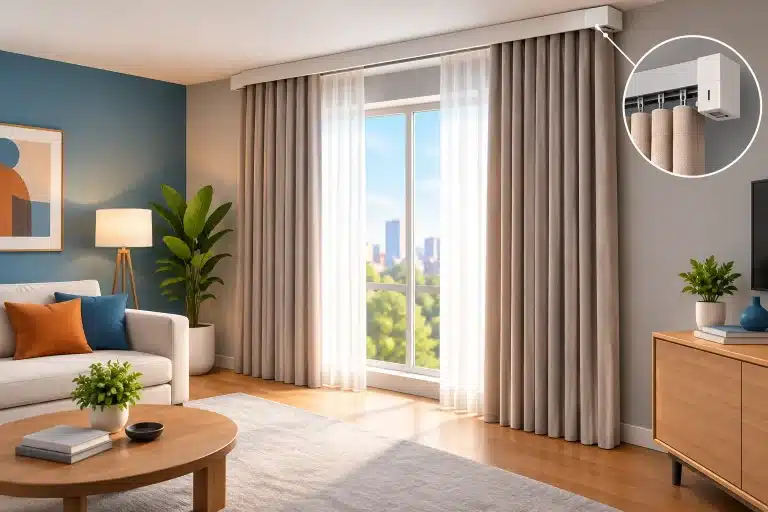
The motor position should be agreed at the same time. It is not simply a cosmetic detail: the motor needs a suitable location, access to power and enough surrounding space. Depending on the system and room layout, it may sit at either end of the track. Planning this early avoids finding that the ideal motor location clashes with joinery, a wall return or a ceiling bulkhead.
Specify curves, bays and corners with care
Not every curtain track is straight, and shaped windows are where a bespoke approach pays off. Bay windows may need a track with gentle bends, while square corners and return walls can require a more defined corner layout. The radius of each bend, the angle of the corner and the exact lengths between changes of direction all affect how the curtains travel.
Avoid estimating a bay from a single overall width. Instead, measure every individual section and record each angle where possible. A simple sketch, photographs and dimensions help confirm the route. For more complex layouts, such as a track wrapping around a corner or running behind a bed, an installation plan should show the track line clearly.
There are trade-offs. A track that follows every change in a bay can look tailored and provide excellent coverage, but heavy fabric may require more space and careful consideration of how it gathers around bends. In some rooms, a straighter track placed in front of the bay gives a cleaner movement and easier curtain dressing. The best answer depends on the architecture and the desired finish.
Plan power before decorating begins
Motorised curtain tracks need a power supply, and the neatest installations are planned before plastering, decorating or fitting joinery. A nearby switched fused spur is commonly used, positioned so it remains accessible but is hidden by the curtains or within a pelmet where appropriate.
Confirm the motor position and cable route with your electrician. Avoid placing the outlet where it could interfere with the track, curtain fabric or a removable access panel. If the room is being renovated, this is also the time to coordinate ceiling pockets, battens and any control wiring.
Some systems can be controlled wirelessly, which reduces the need for wall-control cabling. However, wireless control does not remove the need for mains power at the motor. If you want a hard-wired wall switch, central smart home system or integration with lighting and shading scenes, tell your supplier and installer at the planning stage.
Match control to the way you live
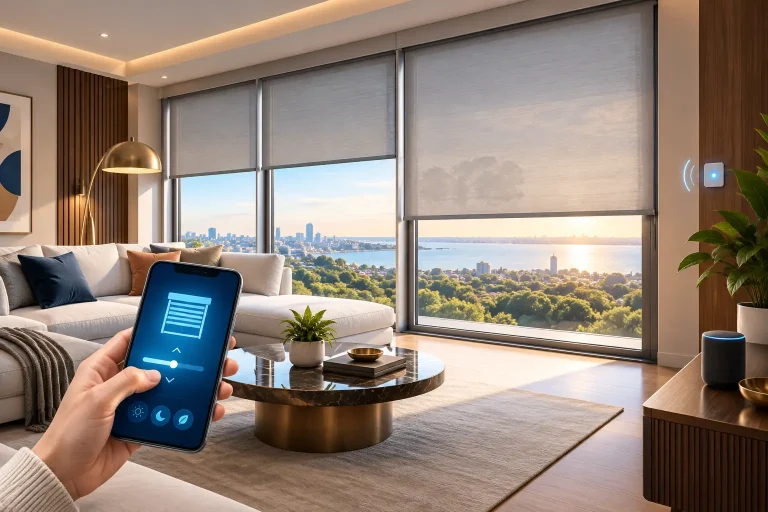
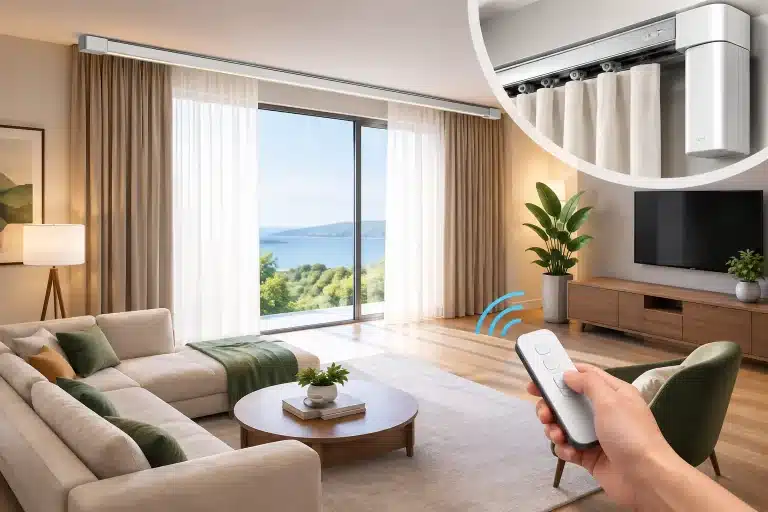
The best control method is the one you will actually use. A handheld remote is simple and familiar, while a wall switch offers a dependable control point at the entrance to the room. App control can be useful for setting timers, checking curtains while away and operating several rooms from one place.
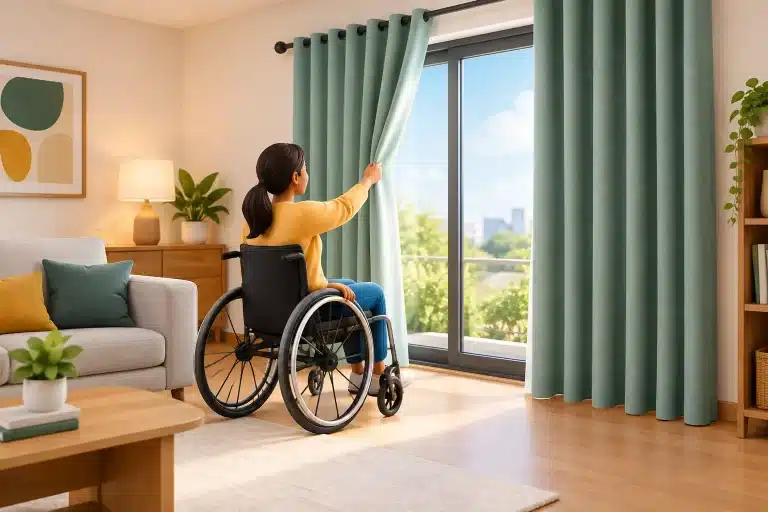
Smart home integration is worthwhile when curtains are part of a wider routine. You might close bedroom curtains at dusk, open living room curtains at a set time, or use timed movement to make an empty home look occupied during a holiday. For accessibility, automation can remove the daily effort of reaching high, wide or heavy curtains.
Do not choose a control option solely for its technical appeal. Consider who uses the room, whether the home has reliable Wi-Fi, and whether a manual local control should be available as a backup. A well-specified system should feel straightforward for every member of the household.
Confirm fabric, weight and heading compatibility
The track, motor and curtain heading work as a system. Heavier curtains need suitable motor capacity and secure fixings, while the chosen heading affects how the fabric attaches and stacks. Wave headings are often selected for their modern, even folds, but pencil pleat and pinch pleat curtains may suit more traditional interiors or particular fabrics.
If curtains are being supplied separately, share their estimated weight, heading type and finished drop before the track is finalised. This is particularly important with blackout linings, thermal interlinings and extra-wide curtains. The aim is smooth, quiet operation rather than a system that is working at the edge of its capability.
Also decide whether the curtains need to overlap at the centre or return towards the wall at the ends. These small details improve privacy and reduce light gaps, especially in bedrooms. They should be incorporated into the track and curtain design, not added as an afterthought.
A clear specification makes installation simpler
Before ordering, your final plan should confirm the track route and overall dimensions, mounting position, opening direction, motor side, power location, control method and curtain details. For a shaped layout, include a drawing with every straight length, bend or corner.
At Smart Curtains, this planning support is designed to give homeowners, builders and electricians a shared point of reference before the track is made to measure. It is far easier to adjust a drawing than a finished ceiling or a bespoke track.
A carefully specified curtain track does more than move fabric at the touch of a button. It helps the room feel calmer, more private and properly finished – and gives you the convenience of curtains that work around your day rather than adding another task to it.