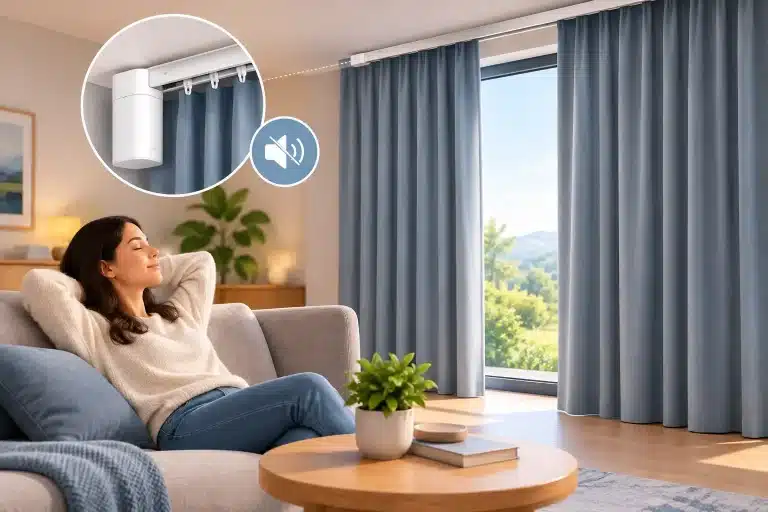
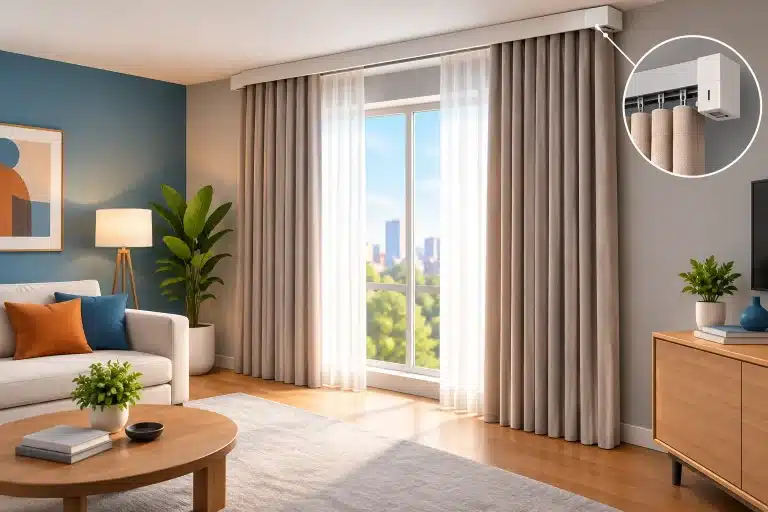
A motorised curtain track looks far more considered when the power has been planned before plastering, decorating or fitting a pelmet. Knowing how to wire smart curtains is less about joining cables yourself and more about making the right decisions early: where the motor will sit, how it will be powered and which controls need to be available when the room is finished.
Thank you for reading this post, don't forget to subscribe!For most homeowners, the electrical connection should be completed by a qualified electrician. Your role is to specify the curtain system properly and give your electrician a clear plan. That approach protects the finish of your room, keeps the installation compliant and avoids discovering that the power point is on the wrong side of the window.
Start with the curtain track, not the cable
Every wiring plan begins with the track layout. The motor may sit at the left or right end of a straight track, but bay windows, corner returns, double curtains and wall-to-wall installations can change the best position. It is worth deciding this before anyone marks out sockets or chases cables into a wall.
Measure the full track run rather than the width of the glass. Include the space needed for the curtain stack when open, returns at either end and any bends or joins. If curtains are being fitted inside a recess, check that there is enough depth for both the track and the heading style. A beautifully wired system can still look compromised if the fabric catches a radiator, protruding handle or the edge of the recess.
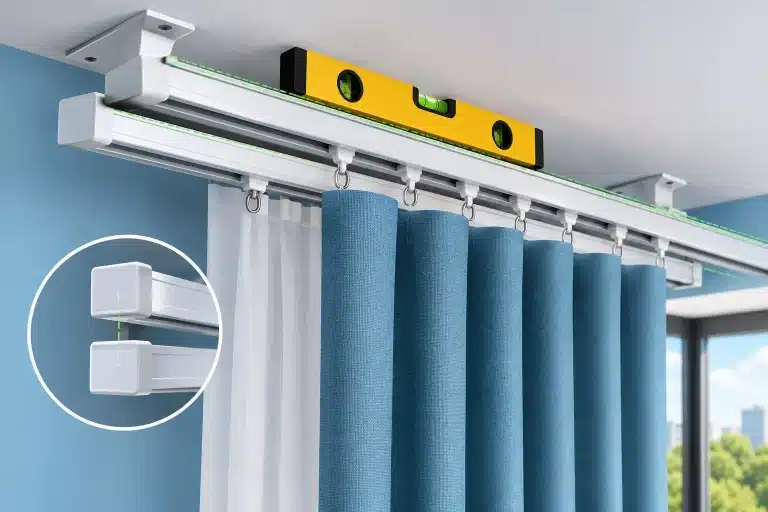
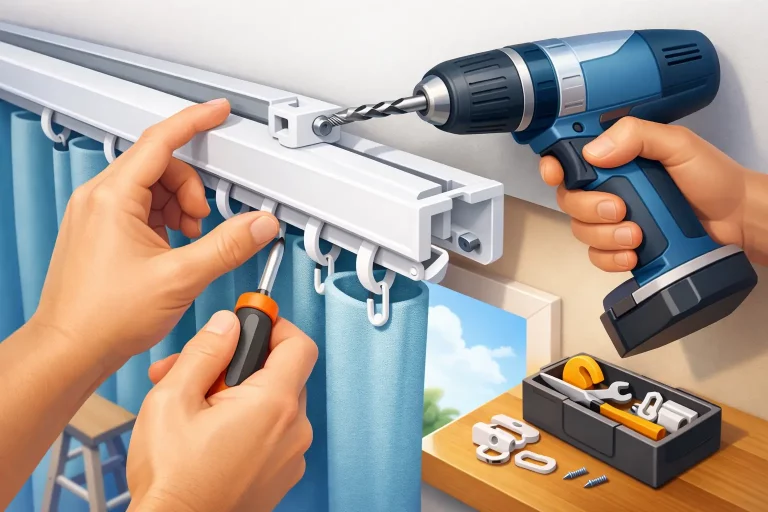
The track should be installed on a secure fixing surface, whether that is a ceiling, a batten behind a pelmet or a reinforced plasterboard area. Power cables must not be used to support or position the track. The mechanical fitting and electrical connection are separate parts of the job, even though they need to be planned together.
Choose the right power arrangement
Smart curtain motors are commonly supplied either with a mains-powered connection or with a low-voltage motor fed by a transformer or power supply. The correct method depends on the specific system, so always work from the manufacturer’s wiring information supplied with your track.
A mains-powered motor is often the cleanest choice for a permanent, made-to-measure installation. Your electrician may provide a switched fused connection unit, usually concealed near the motor position or in an accessible adjacent location. This gives the motor a dedicated, safe supply and allows it to be isolated for servicing without relying on a visible plug socket.
Low-voltage systems can be useful where the motor itself needs a more discreet connection, but the transformer still needs a suitable, accessible location. Do not bury a power supply where it cannot be inspected, replaced or kept ventilated. It may be hidden in a ceiling void, joinery cupboard or pelmet, provided access has been considered from the outset.
Plug-in options suit some completed rooms, particularly where chasing walls is not practical. The trade-off is a visible lead unless it can be neatly routed and concealed. For a high-specification renovation or a principal bedroom, a hard-wired supply generally gives the more polished result.
How to wire smart curtains with a wall switch
A wall switch is not essential for every smart curtain system, but it is a useful everyday control and a reassuring back-up if your phone is unavailable. It can also be particularly helpful for children, guests or anyone who prefers a simple button over an app.
The exact switch type matters. Some motors use a momentary, centre-off switch that sends separate open, stop and close commands. Others accept a dry-contact input, a proprietary wired control or no wired switch at all. Never assume a standard light switch is compatible. Connecting the wrong type of switching arrangement can damage the motor or leave the curtains operating unpredictably.
Before first fix, confirm four things with the system specification: the motor location, the power-supply location, the type of control input and the desired switch position. Many homeowners place the switch beside the bedroom door, while others prefer it near the bed. For large rooms, two control points may be possible, but this should be designed around the motor’s approved wiring method rather than improvised on site.
Your electrician should route the appropriate cable from the control position to the motor or controller as specified. Keep mains wiring, low-voltage control cables and data cables organised and correctly segregated. This is especially relevant where smart curtains are being installed alongside lighting controls, speakers or a wider home automation system.
Plan for smart control without overcomplicating it
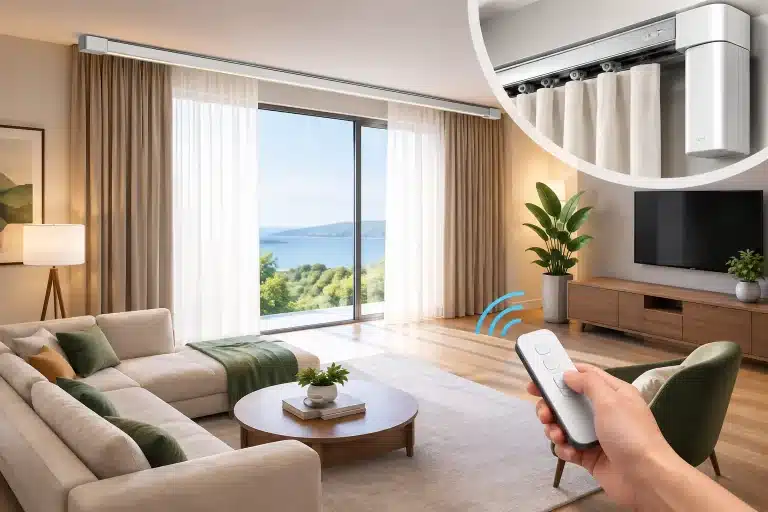
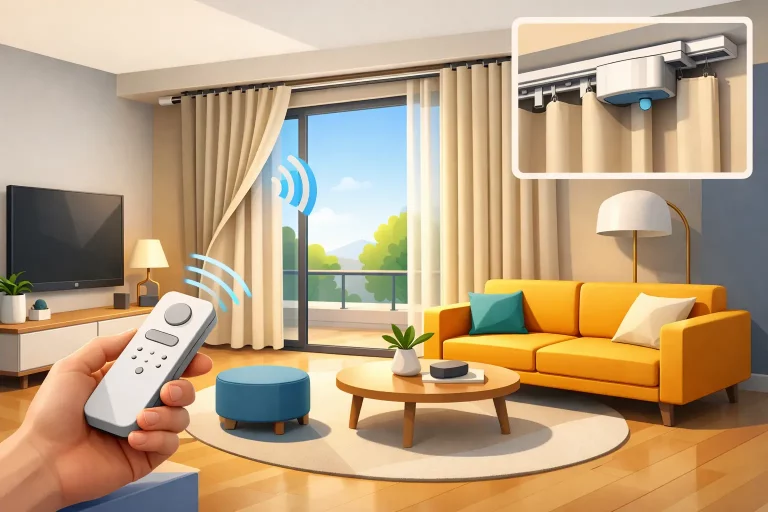
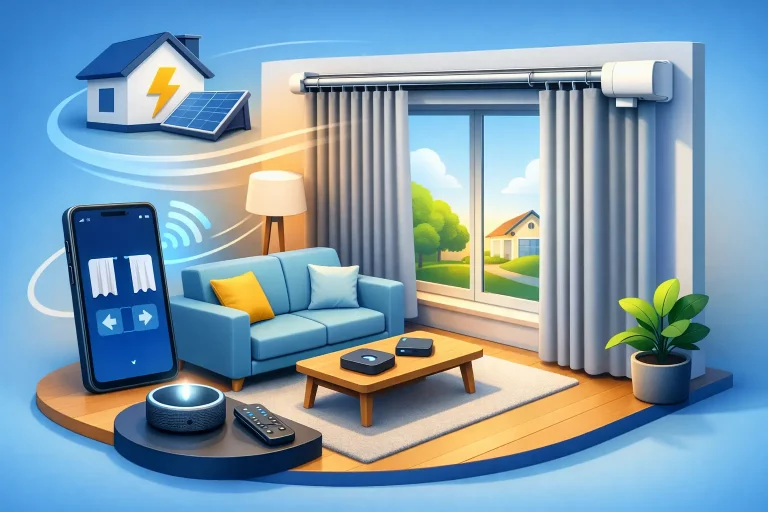
Smart curtains can be operated by a remote control, smartphone app, timer, voice assistant or integrated home automation system. The best control method is the one your household will actually use.
For a straightforward home, app scheduling and a remote may be enough. You can set bedroom curtains to open gradually in the morning or close automatically at dusk, adding privacy without another task at the end of the day. Timed operation is also valuable when you are away on holiday, as changing the appearance of the home can offer useful added reassurance.
If you are building or renovating with a smart home installer, discuss curtain control before the electrical layout is finalised. The installer may need a particular interface module, low-voltage cable route or network connection. Equally, some curtain systems work well as standalone products and do not need a complicated central control system to deliver genuine convenience.
It depends on the room. A single living-room window may only need a hand-held remote and timer. A house with several automated windows, scene-based lighting and security settings may benefit from coordinated automation. The important point is to leave options open without paying for technology that does not suit how you live.
Get the timing right during a renovation
The easiest time to plan power is before plastering and decorating. Share the confirmed track drawing with your electrician, builder and any joiner making a pelmet or curtain recess. It should show the finished track length, motor end, supply point and the clearances required around the system.
First fix is the stage for routing cables and fitting back boxes. The curtain track itself is normally installed later, once ceilings, paintwork and decorative details are complete. Leave enough cable at the intended connection point for the electrician to make off safely, but do not allow loose cable to interfere with the moving curtain or runners.
For existing homes, a survey is still worthwhile. A power feed may be taken from a nearby circuit, subject to the electrician’s assessment, and surface routes can sometimes be hidden inside a bespoke pelmet or behind carefully planned trim. The result may involve more compromise than a new build, but it does not have to mean exposed wiring across the wall.
Safety and compliance for UK installations
Fixed electrical work should be assessed and carried out in line with the current wiring regulations. In England and Wales, certain domestic work may also fall under Building Regulations requirements. A competent electrician can determine the correct circuit protection, isolation method, cable route and any certification required for your property.
Avoid connecting a curtain motor directly to an unprotected supply, concealing inaccessible joints or running unsuitable cable through areas where it could be damaged. Do not fit electrical equipment inside a bathroom zone unless the product and installation method are specifically suitable. If the motor or power supply will sit above a window, make sure future access has not been sacrificed for a perfectly clean ceiling line.
There is also a practical safety check after installation. Before hanging the finished curtains, test full opening and closing, stop functions, wall controls, remotes and any scheduled automation. Confirm that the fabric cannot snag on the motor, cable exit, window handles or nearby furniture.
A better-finished result starts with a clear plan
Motorised curtains are most satisfying when they feel like part of the room rather than an add-on. At Smart Curtains, made-to-measure planning support can help establish the track layout, motor position and fitting details before your electrician begins work. With the right drawing, a suitable power point and controls chosen around your routine, the finished curtains can simply open, close and make daily life that little bit easier.